Painting Bathroom Cabinets
Many people wonder how to paint bathroom cabinets. Even if you have never thought about it, painting your bathroom cabinets may sound like a difficult task that would require professional help. This, however, is not the case. Painting your bathroom cabinets is essentially the same as painting cabinets in any other room of the house. In this guide, we are going to walk you through the process of how to paint your bathroom cabinets.
Disclaimer: This blog post contains affiliate links and we may receive a small commission for purchases made. These are products we highly recommend.
Selecting a New Bathroom Cabinet Color
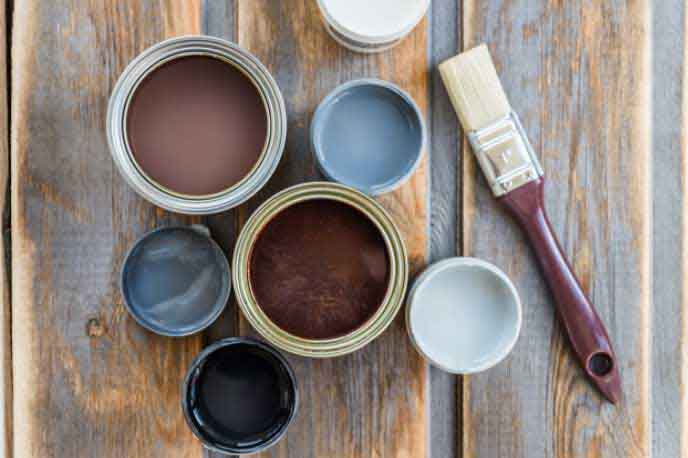
Before you can get started, you will need to gather your supplies. Below, you will find the full list of supplies that link to products you can purchase for your project. One element that you will notice is absent is the paint for the bathroom cabinets. Choosing what color to paint your bathroom cabinets will depend on the current styling of the bathroom and your personal tastes.
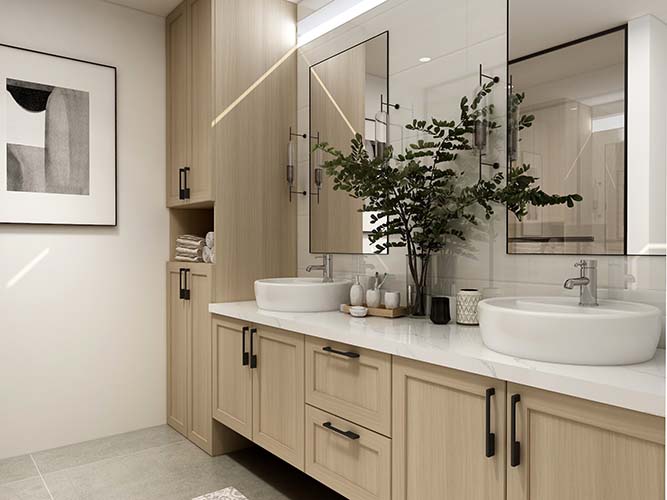
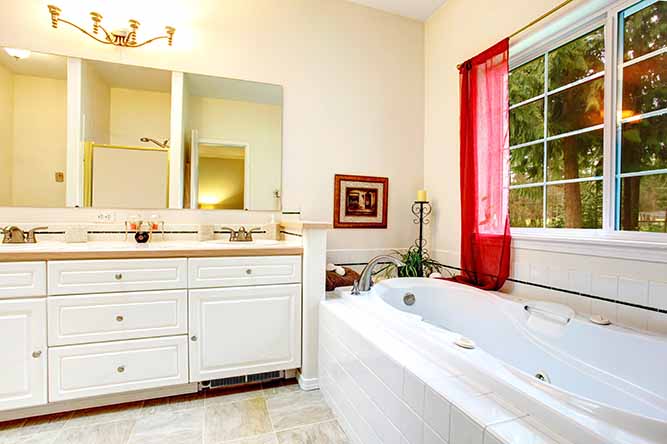
However, we wanted to take this opportunity to suggest white or off-white for your bathroom cabinets. This is for 2 reasons. The first reason is that brighter colors on your cabinets can help to reflect natural light in the room. This has the delightful effect of making the room feel larger than it actually is. Plus, brighter rooms also can feel cleaner, which is very important in the bathroom. The second reason is that white and off-white cabinets are typically easier to keep clean. Being able to see the dirt and smudges on your cabinets helps you to keep them clean due to the visual reminder.
Required Supplies
Aside from the paint you choose for this project, you will also need some supplies. If you have taken on a painting project recently, you very well may still have some of these supplies lying around. If not, they can be a relatively inexpensive investment, and most of these supplies can be reused for your next painting project.
Step 1: Prep and Planning
Planning
Once you have all your materials gathered, it is time prep the work area and finalize your plan of action. Your plan should also include a schedule for getting all the work done, even if you are tackling this project solo. Sticking to a schedule can help you make sure everything is completed on time and in the correct order. In addition, you will also want to plan your project for a nice day or weekend, depending on how long you plan to take to finish the project.
You may be surprised to learn that there is actually an ideal temperature and humidity for painting cabinetry. The ideal temperature is around 70 degrees Fahrenheit with humidity levels between 50% and 70%.
Maintaining these levels as you work is important for achieving the best results possible. Plus, these conditions will also help speed up the drying process, which is a great time-saver for busy homeowners. If it has rained in the past few days, be sure to check the humidity levels, as it may be too humid to apply your paints.
Prep
Once you have your plan written in stone, you can prep the area where you will be working. The first step is to remove your cabinet doors and drawers, if there are any, from your bathroom cabinets. While you can paint the cabinets without removing anything, you will not be able to get the best results without removing the doors and drawers. As you work, be sure to label all the pieces that your remove. This way, when it comes time to re-assemble your bathroom cabinets, you will know exactly where every door, hinge, and screw is supposed to go.
Once you have all the doors and drawers removed, you can put down the drop cloth and the painter’s tape. This way, you can protect all the surfaces that won’t be getting painted. Plus, using painter’s tape is a great way to help create straight, sharp lines as you work. This way, you won’t have to deal with the pressure of getting detail perfect.
Finally, you will need to sand all the surfaces that you plan to paint. You should start with a course sandpaper (around 120-grit) and work your way up to a fine sandpaper (220-grit). Your surfaces should all be smooth and even when you are done, which will help you get the best results with your primer and paint.
If you are ordering new cabinet doors and choose to purchase them from us, all of our unfinished cabinet doors and drawer fronts come already sanded. This helps you get the project moving quicker and saves time.
Step 2: Prime Your Bathroom Cabinets
Every project, whether it is a whole house or just a single room, needs to have a solid foundation. You will need to use a primer to provide a foundation for your paint, and to help ensure a smooth finish. While available in paint and primer combinations, we find people have the most success using a separate paint and primer.
Primer is also essential for working to eliminate and prevent things like mold or mildew. The bathroom being more hot and humid rooms means that you will need to select a primer that was made for the bathroom, or one that specifically is made to prevent mold and mildew. You should apply 2 coats of primer to your cabinets, waiting for each coat to fully dry before moving on.
Step 3: Paint Your Bathroom Cabinets
Now that all your surfaces have been primed and are dry, you can begin applying your paint. Before you begin, carefully inspect your bathroom cabinets for any visible brush strokes, unevenness, bubbles, or debris that may have settled during drying. If you do notice these things, lightly sand the problem areas with a fine sandpaper.
As mentioned before, using a paint sprayer is the preferred method for painting your cabinets. However, if a paint sprayer is not an option for you, then you will need to use brushes and rollers.
You will need to apply at least 2 coats of paint, but you may end up needing an additional coat. Be sure to remember to allow the surfaces to fully dry before you apply the subsequent coats. If you are using a paint sprayer for the project, remember to maintain a steady speed and distance from the door as you work. If it is your first time using a paint sprayer, or if it has been a while, you should find some scrap material to practice on. Testing and practicing can also be helpful for those using brushes, since you will to apply even strokes and pressure as you work.
Brush and Roller Pro Tip
If you are using brushes and rollers, you will need to be especially careful to take your time. You want to maintain steady, even strokes so that you don’t accidentally give your doors an unintentional brush stroke pattern.
Step 4: Drying and Clean Up
The last step isn’t a single task, but rather a collection of small tasks and waiting. You will need to ensure that your cabinets have a clean and well-ventilated area to dry. Remember, doing this project in the ideal conditions can also help speed up drying times. Keeping the air moving in your drying space can also help with drying time.
Once painted and safely placed in the drying area, it can take up to 1-2 weeks for your cabinets to be dry to the touch. After they are dry to the touch, it takes about 3-4 weeks for the curing process. At this time, you should treat your cabinets with care, as the finish is not as strong as it will be once cured.
Aside from properly setting up the drying space, you will also need to clean up all the painter’s tape and drop cloth. Inspect your work as you go in case you need any last minute touch ups before leaving it all to dry. Once it is dry to the touch, you can refer to the labels you created and re-assemble your bathroom cabinets. Now, all that is left is for the paint to cure and for you to post your stunning before and after pictures to show off your hard work.
Final Thoughts
While the drying and curing process may take some time, painting your bathroom cabinets can be a DIY-friendly project that could be accomplished over a weekend, or maybe a long weekend if you really want to take your time. Alternatively, you can hire professionals to come and paint your bathroom cabinets. However, while this will drive up your costs fast, it is important to know what you can realistically accomplish. Nothing is worse than a project that sits half-finished for far longer than it should.
If you are ready to start ordering or if you need assistance, please feel free to call us at 1-855-669-5222 or send us an email at info@cabinetnow.com. Our team of cabinet experts is here to help with everything from measuring to ordering.
 MADE IN THE USA


