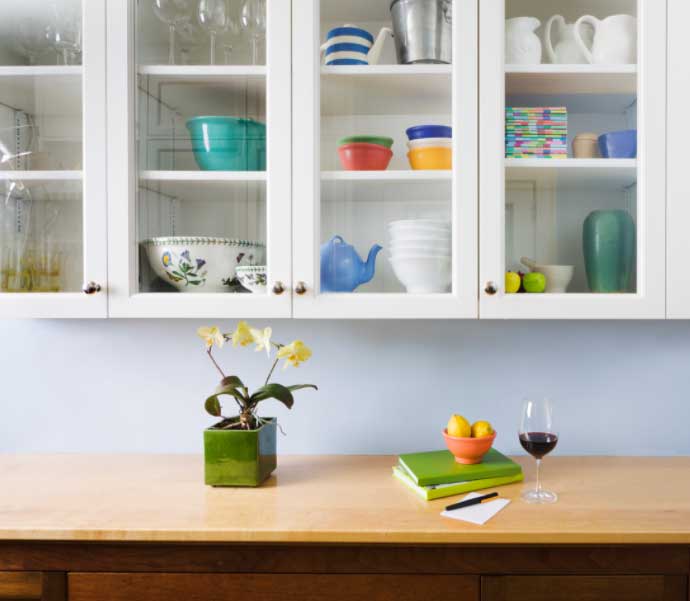
Adding Glass Panels to Cabinet Doors
Adding glass panels to your cabinet doors is a great way to give your kitchen or bathroom an open and airy feel. Many people opt to buy cabinet doors made for glass inserts, but this is not the only option. While you might not be able to install intricate French lite designs, you can install a simple glass panel with just a few tools. Plus, these are great tools to have if you don't already own them. Check out the links below if you need to order the tools to complete this project.
Disclaimer: This blog post contains affiliate links and we may receive a small commission for purchases made. These are products we highly recommend.
You will also need to source your glass panel for the project. Many hardware stores can cut glass to size for you. Alternatively, you may consider a plexiglass option for your cabinet door panel. Plexiglass can be a light-weight option that could allow for some more creative applications. In addition, you can also consider things like chicken wire or a metal mess material as inserts for your cabinet doors. We wanted to mention these non-traditional approaches as they can be used to design trendy spaces at affordable prices.
Now that you have all your supplies, you are ready to get started. Read on for the step-by-step guide to adding glass to your cabinet doors.
- Remove the Cabinet Doors
- The first task you will need to accomplish in this project is removing the cabinet doors. For this step, all you will need is a screwdriver. Locate where the hinge attaches to the cabinet door and carefully remove the screws. You may need to push the door while holding the hinges to get the hinges to come out of their bore holes.
- Bonus Pro Tip: Label everything! You should label all the doors and hardware that you take down with where it goes. This way when it is time to remount your doors, you will know where to put everything back.
- Prepping the Doors
- Now that your doors are off the cabinet boxes, you should take them to your work space. This does not have to be a pro wood shop or anything like that. You will just need a clean, protected surface to work on. Since you will be drilling and cutting, you want to be sure you aren't accidentally drilling into the kitchen table or about to take a corner off the countertop. And so, you should probably sent up a table or some smaller saw horses outside. This way, you have the added bonus of not having to clean up saw dust in your kitchen for the next five years.
- With the doors face down at the work station, take a moment to mark where the panel and frame meet. This will help you to avoid damaging the frame during the project.
- Drill the Holes
- Now that you have the panel and frame clearly marked, carefully drill into the bottom left corner of the door. Again, it is important to avoid the cabinet door's frame while doing this.
- Repeat this process for each of the corners of the cabinet door.
- Grab the Jigsaw
- Next, take your jigsaw and carefully cut from corner to corner. You may want to use another piece of wood as a make shift straight edge to help you keep your cuts lined up. Also, you should be sure to use protective eye-wear.
- Note:The glass panel will need to overlap the frame by 1/4 to 1/2 of an inch. Keep this in mind as you plan out your cuts.
- Sanding and Caulking
- Take your sandpaper and lightly sand the inside area of the frame where the panel once was. Once this area is smooth, apply bead of caulk around this area of the frame.
- Install the Glass Panel
- Carefully place the glass, or whatever material you end up choosing, panel into the frame of the door. You want to press the new panel down gently so that the caulking adheres to it, but you don't accidentally damage it with too much force.
- After about half an hour of drying time, you can attach the glass fasteners. The placement and quantity that you use is up to you, but you should install at least 4.
- Once you have all your fasteners securely attached, you are ready to re-mount your new glass cabinet doors!
Pro Tip
Carefully consider which of your cabinet doors you use for this project. You will most likely only being adding glass to a handful of your doors. You want the cabinet you choose for this project to neat and organized, so it is best to not choose overly full or crowded cabinets. Rememeber, the inside of the cabinet will be on display with glass fronts.
For more advice and pro tips from our cabinet experts, check out our How to Guides
Did you find this helpful?
 MADE IN THE USA
