How to Make a Fabulous Frame for your Bathroom Mirror
Tired of the same old look in your bathroom? Do the glass edges of your mirror leave you wanting more? Well then, you’re in luck! Adding a border to a basic frame-less mirror will not only radically impact your bathroom decor, but it also makes a great home DIY project.
What You Will Need
Though costs will be different depending on the size, material, and thickness of the frame you’re going for, this kind of project shouldn’t set you back more than $30 and will only take a few hours. There are a couple of ways to approach this project, and today we’re going to focus on two of the most straightforward and effective DIY methods:
- connecting your frame with mitered cuts
- connecting with decorative wood squares
To get started, you will need to gather the following materials:
- Wood Boards/Trims
- Miter Saw (or Wood Squares)
- Adhesive (like Liquid Nails)
For a clean aesthetic where the border wraps perfectly around your mirror, you’ll need to get your hands on a miter saw. The smooth appearance it forms is certainly well worth the trouble. Alternatively, you can make straight cuts on your boards and embellish them with wood squares on the corners to connect your pieces to each other (and add a little more visual flair).
RENTAL TIP: For apartment dwellers and home renters who have restrictions on making home modifications, consider using hanging strips to create an easily reversible solution that’s landlord-friendly.
Build and Install Your Bathroom Mirror Frame
1. Measure and Gather Materials
Referring to the material list above, take down the dimensions of your mirror so that you can figure out the size of the wood boards/trim which you need to purchase—and any wood squares if straight cuts are your preferred method.
Once you have your measurements made, head to your local hardware store and purchase four appropriately sized wood pieces to wrap around your mirror. If you need assistance cutting your wood to size, most hardware stores will offer to do this for you.
2. Ready your Frame
If you chose to follow the miter saw method, now is the time to make your 45-degree cuts at the end of your wood boards so that they can fit flush together around your mirror.
After your boards are properly shaped, take your adhesive of choice and prepare the all pieces of your frame for mounting.
If using a type of glue rather than hanging strips, remember to leave roughly an inch of space from the top and bottom of your boards. This way the glue doesn’t spread too far out, or reflect in your mirror.
3. Mount the Frame
With your adhesive applied, it’s time to press the frame pieces into their positions against the wall.
Connect miter-cut boards/trims directly to each other by their 45-degree cuts. For straight-cut pieces, place your wood squares at the corners of your mirror and then insert the wood boards snugly between them.
If using liquid adhesives that need to dry, support your frame with tape until the boards or trim is securely dried in place.
4. Clean Up and Admire
Almost done! With your frame up in its intended position, remove any tape, and then clean away any tape residue and mirror smudges you may have made during installation.
Finishing up the Bathroom Mirror Frame
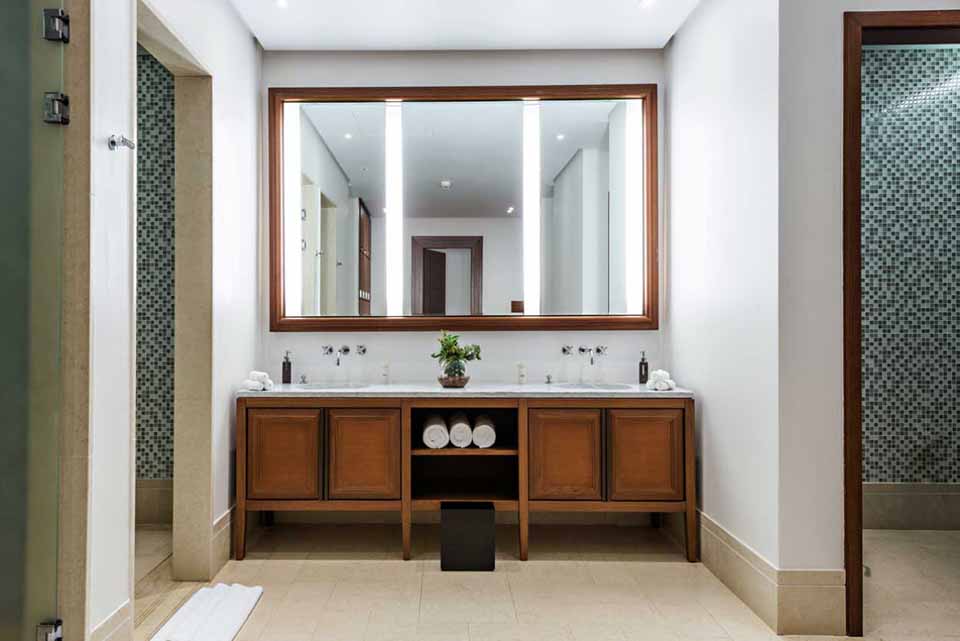
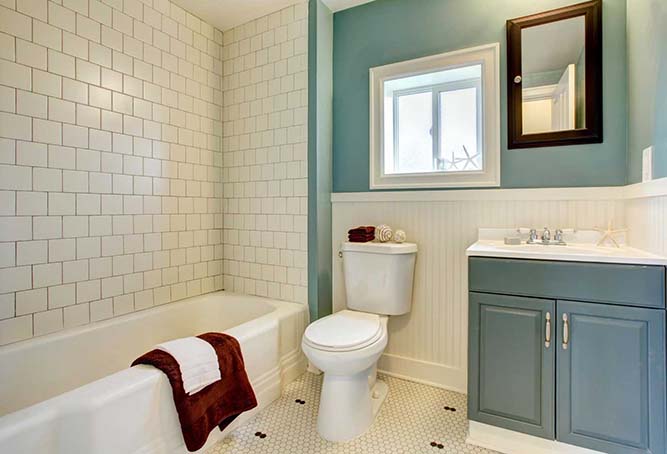
You can have your new frame match your countertop, or, as pictured above, use it as an opportunity to create contrast. Since this is a DIY project, it is infinitely personalizable, so your new mirror frame will be a perfect fit in your space. Once you have your mirror framed and hung, take a step back, and admire the smile of a job well done in your freshly framed reflection.
 MADE IN THE USA


