Contractor Spotlight: Ryan P. with The Painting Craftsmen
At CabinetNow, we get the opportunity to work with homeowners and contractors alike. Serving these two unique groups gives us an insightful perspective on the cabinetry business. Recently, we have been highlighting the successes of our homeowner customers. This week, we get the chance to introduce you to one of our contractor clients in our spotlight post!
I got to talk with Ryan P at The Painting Craftsmen earlier this week, and I am excited to share a few examples of their work, along with some pro tips that he passed on to me during our interview. Read on to learn more about refinishing your cabinetry, and the surprisingly simple way to make sure it stays clean and beautiful for as long as possible.
Getting Started
As with almost all home improvement projects, Ryan and the crew get started with a consultation with the client. In this meeting, they share color samples and cabinet door samples to help give the client an idea of what is possible. The client often has an idea of what they want in terms of style. However, when the client has difficulty, Ryan has two interior designers that can be tapped in to help create the plan.
Ryan told me that their project often includes updating or adding kitchen islands, changing cabinetry configurations, and modifying cabinets in addition to refinishing. The cabinetry modifications sounded a lot like Paul E. from a previous customer story, who upgraded all his base cabinets to have full-extension, pullout drawers. One modification he described sounded particularly interesting and useful.
Drawer Mods to Upgrade Your Kitchen Storage
Ryan told me that a client had requested that they take two shallow drawers and convert them into one large, deep drawer. This is a very popular drawer configuration for renovations and new builds. The deeper drawer provides ample storage space, but, more importantly, it is very convenient to access. Pots and pans can heavy, especially when they are all stacked on top of each other in a base cabinet. No one likes getting on the floor to crawl into the cabinet looking for the saucepan the recipe calls for. With the deeper drawer, you can comfortably look down into the drawer to find what you need.
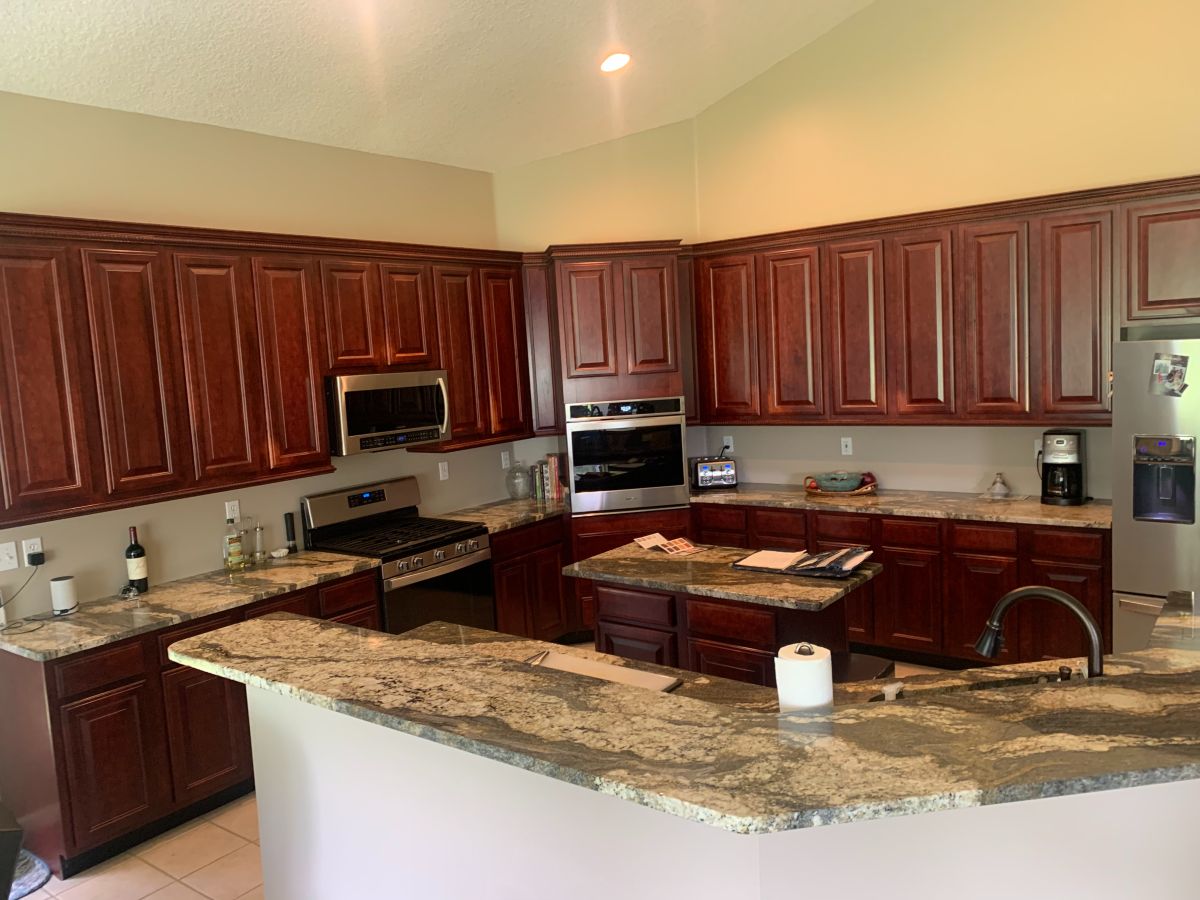
A sophisticated new dark finish
Other common modifications are are things like adding trash inserts in a base cabinet to keep your garbage out of site. One interesting trend Ryan mentioned that surprised me was clients requesting their dishwashers replaced with base cabinets. As someone who has recently gotten a dishwasher for the first time, I can say it would be a tough choice between the additional storage space and the convenience of the dishwasher. Ryan agreed, but an extra cabinet does sound pretty nice. I’ll have to leave that decision up to you, reader.
The Process
Aside from the kitchen islands or cabinet modifications, Ryan and the crew are largely focusing on cabinetry refinishing and refacing. Refacing is the process of replacing cabinet doors and drawer fronts with new ones. You will also paint or add a veneer or laminate to the cabinet boxes to match the new doors and drawers.
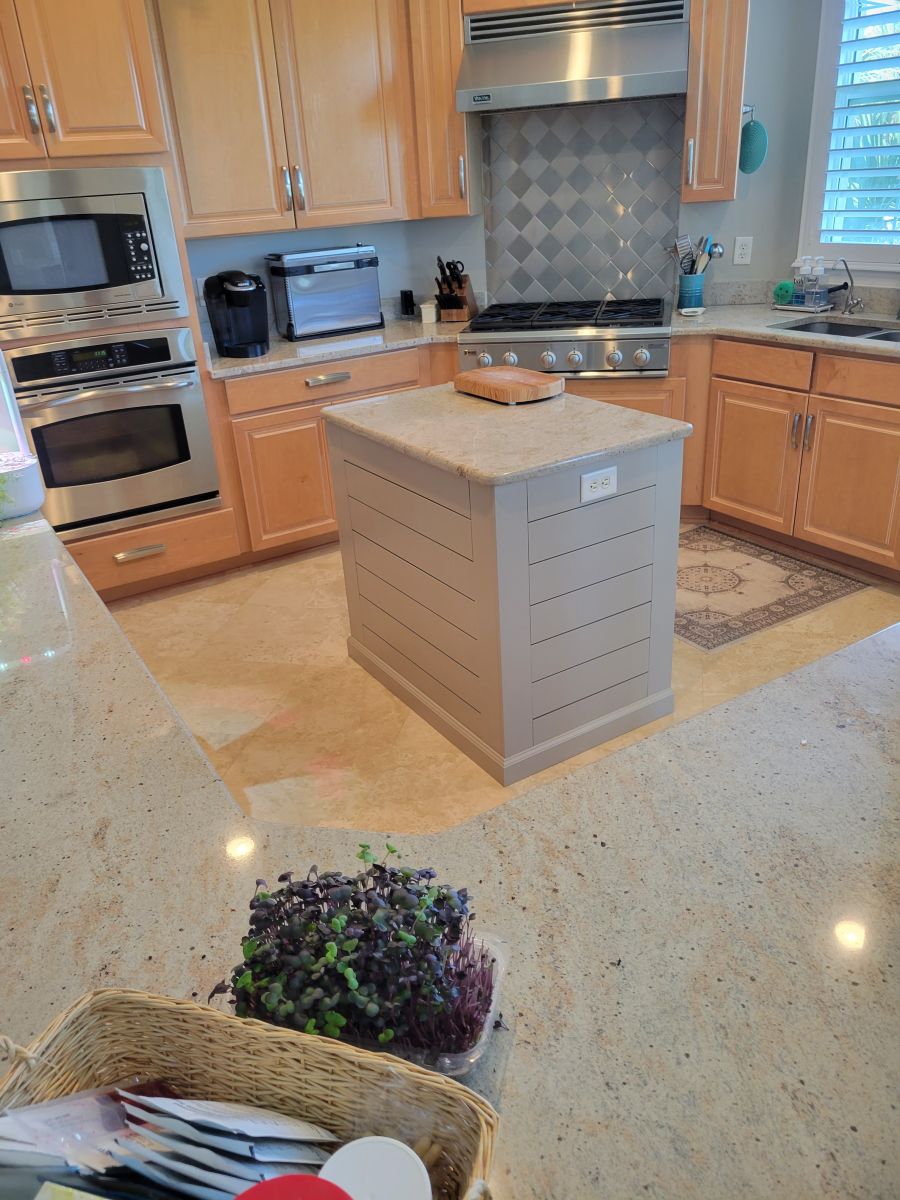
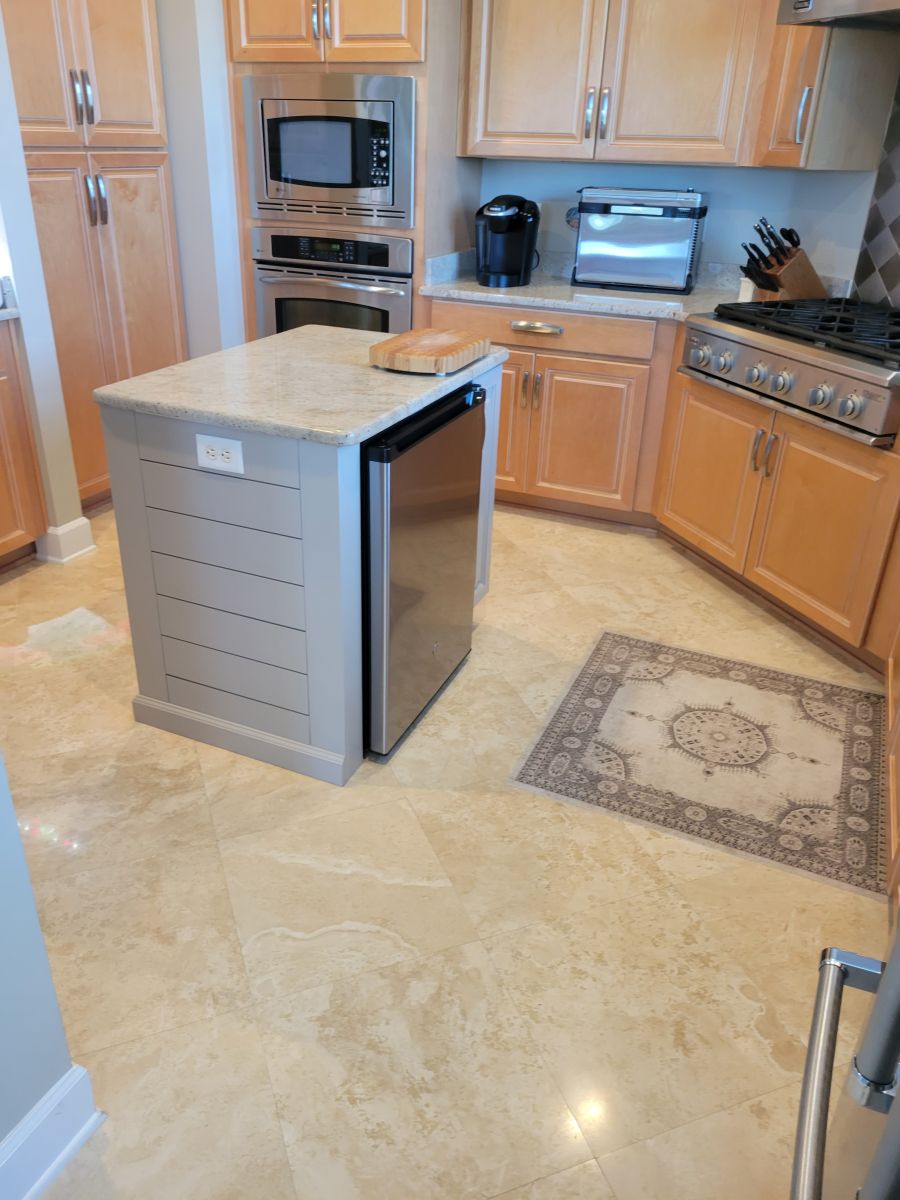
An kitchen island the crew added
Refinishing, on the other hand, involves removing the cabinet doors and drawer front, giving everything a new coat of paint, stain, or other finishing material, and then re-attaching all the fronts. Both of these processes are great ways to save money on a kitchen remodel while still getting a dramatic facelift.
Once the client has decided on colors and whether or not they are changing the style of the fronts, Ryan and the crew get to work. The first step is to remove all the cabinet doors and drawer front, take down the hardware and make careful note of where everything goes with it is reassembled. Next, the doors and drawers are taken to the shop to get their new spray finish. Since The Painting Craftsmen also have a furniture division, this crew refinishes cabinetry using lacquer finishes. This creates high-quality, visually stunning results. In addition to the doors and drawer fronts, the cabinet boxes will also need to be refinished so that everything will match.
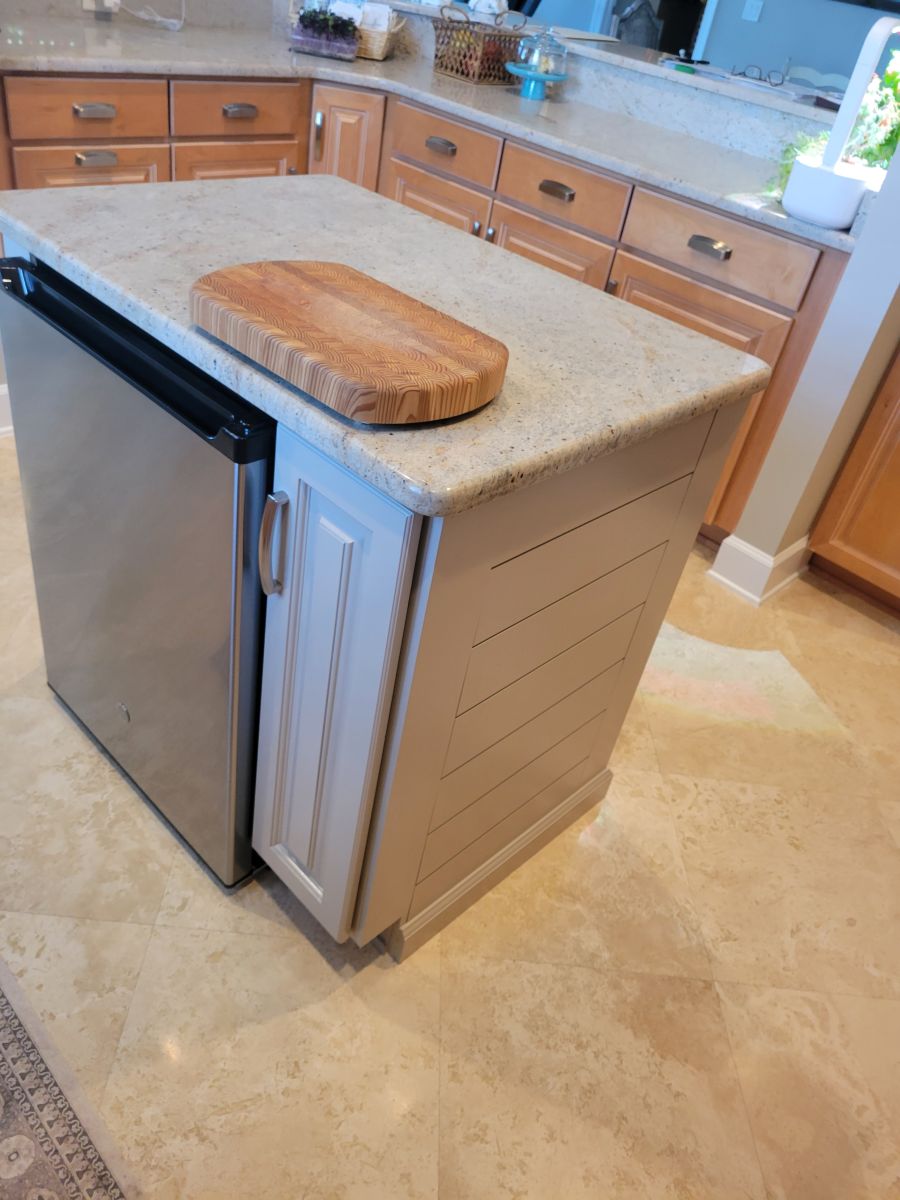
We love the detail on this door they choose
After the lacquer is dried, the crew gets all the fronts back to the job site to remount them. After some final touches and clean-up, the job is all done. Ryan told me that the crew is able to knock out these refinishing jobs in just 4 days! 2 days at the client’s home, and 2 days at the shop.
Care and Maintenance
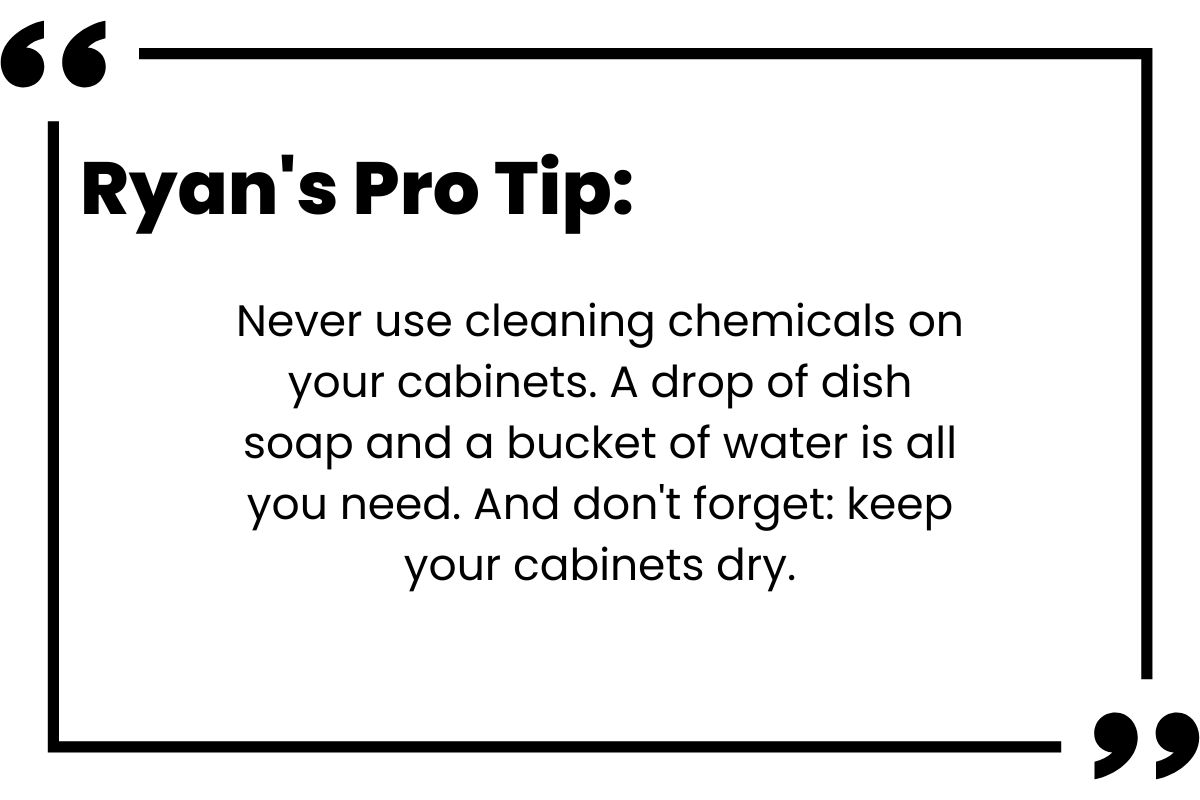
According to Ryan, the lacquer finish is at its most vulnerable for the first 21 days after it is sprayed. During this time you will need to be extra cautious as you handle your cabinetry. Areas that are of particular concern are the silverware drawer, outside corners of the cabinets, and the area around any handles or pulls. The area behind your pulls and handles can get scratched by fingernails, which is a very common thing the crew sees, so be sure to keep this in mind, especially during those first 21 days.
Finishing Up
What will you design?
They keep the process quick and easy. The goal, Ryan told me, is to make the experience as frictionless and speedy as possible. This way, the client doesn’t have to deal with their kitchen being an active job site for too long, plus they can start enjoying the new design mere days after work gets started.
If you are in the Jacksonville area, give The Painting Craftsmen a call if you are looking to give your kitchen a lightning-fast makeover! A kitchen refacing or refinishing can be a cost-effective answer to your kitchen remodeling needs.
 MADE IN THE USA


