DIY Breakfast Nook in 5 Easy Steps
Breakfast nooks are a wonderful addition to any kitchen because they provide the perfect place for your family members to eat breakfast together. The bright, natural light helps make it feel cozier and more welcoming, which is especially nice in colder months! If you want this project done on your own--it never hurts to have some help from someone else too--be sure to find a guide to get an idea of your direction and needed materials.
Do you ever feel like your morning routine is lacking a personal touch? Build an intimate breakfast nook that serves as the perfect space to share coffee and bacon with friends and family. This functional, yet stylish space will not only be the focal point of your home but it’ll also provide convenient storage for things like backpacks and gym bags.
Creating a kitchen breakfast nook with cabinets is the perfect way to allow everyone in your family or group of friends an opportunity for quality time. Simply follow our quick guide to create one and start enjoying coffee, eggs, and conversations at your new breakfast nook!
1. Plan the Location and Measure
A breakfast nook can be tricky to place in your home, but when you do it becomes a room that is both functional and warm. There are many options available, from open kitchens with plenty of counter space for cooking or dining halls where people gather at mealtime every day. Take your time searching through different areas in the house until you find something right for yourself!
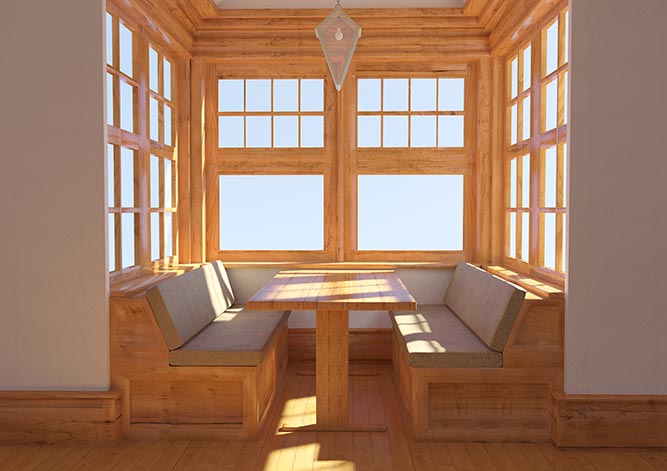
Designers often place breakfast nooks near windows, as natural light is a great way to start the day. East-facing walls are especially suited for this purpose because they can take advantage of sunrise views during morning breakfasts!
Before you even start thinking about the design, measure out your space. Some people forget that they need to figure out what size of materials and cabinets before purchasing their supplies.
2. Construct the Base
The sturdy frame of your base will be the foundation for your new breakfast nook. As you plan out the height of your base, be sure to take any cabinet doors you plan to mount into account. You will not want the base to be too low, as the cabinet doors will scrape along the floor when opened and closed.
Refer back to the dimensions you took in step one and cut your pieces of lumber to size. If you do not have the tools or experience, most hardware stores will either rent out the equipment or will even cut the lumber for you themselves. Once you have your pieces cut and shaped according to how much space is available, use screws or nails as needed to construct your base.
You're almost done with the base of your breakfast nook! Now it's time to set this piece against a wall and use either screws or nails to secure it. Before moving onto anything else, make sure that you install evenly spaced support planks within the center of your base for extra strength - this will ensure that everything is properly supported in years to come.
3. Prepare the Cabinet Bench
Think of your breakfast nook as a workbench. You want to make sure everything is securely attached so you can avoid any accidents. Start by lining up the cabinet with clamps and securing them together - one clamp for each joint will do the trick, but if yours are especially heavy or bulky then go ahead and use more. After that, it's time to drill holes through all of those connecting wall panels before assembling in order to keep things nice and sturdy.
Attach the line of cabinets together with your nuts, bolts, and washers to create firm, lasting connections that will be able to support the stress of day-to-day use.
4. Connect the Cabinets to their Base
When you’ve got your base and a line of cabinets, it’s time to put them together. Lift the connected cabinet over the top so that they align. When even with each other, use your drill to create connecting holes from one side through both pieces into the bottom. Screw it in place as you go around until all are secure on their own little shelf.
5. Decorate
If you've been dreaming of a breakfast nook, now's the time to transform your dream into reality. Now that the hard work is done, it's up to you what direction this space takes on with decorative items and style choices. Whether large or small in size, there are plenty of opportunities for design ideas online as well as at home stores near where you live!
Finishing Up
Now that you have your breakfast nook built and decorated, it is time to sit back and enjoy!
If you are ready to start ordering or if you need assistance, please feel free to call us at 1-855-669-5222 or send us an email at info@cabinetnow.com. Our team of cabinet experts is here to help with everything from measuring to ordering.
 MADE IN THE USA


