 made in the USA

How to Prep Kitchen Cabinets For Paint In 5 Steps
Prepping your cabinets for painting is the most important part for a lasting, durable finish. CabinetNow has put together a guide for everything you need to know from cleaning to applying the paint.
Step 1: Remove The Cabinet Doors
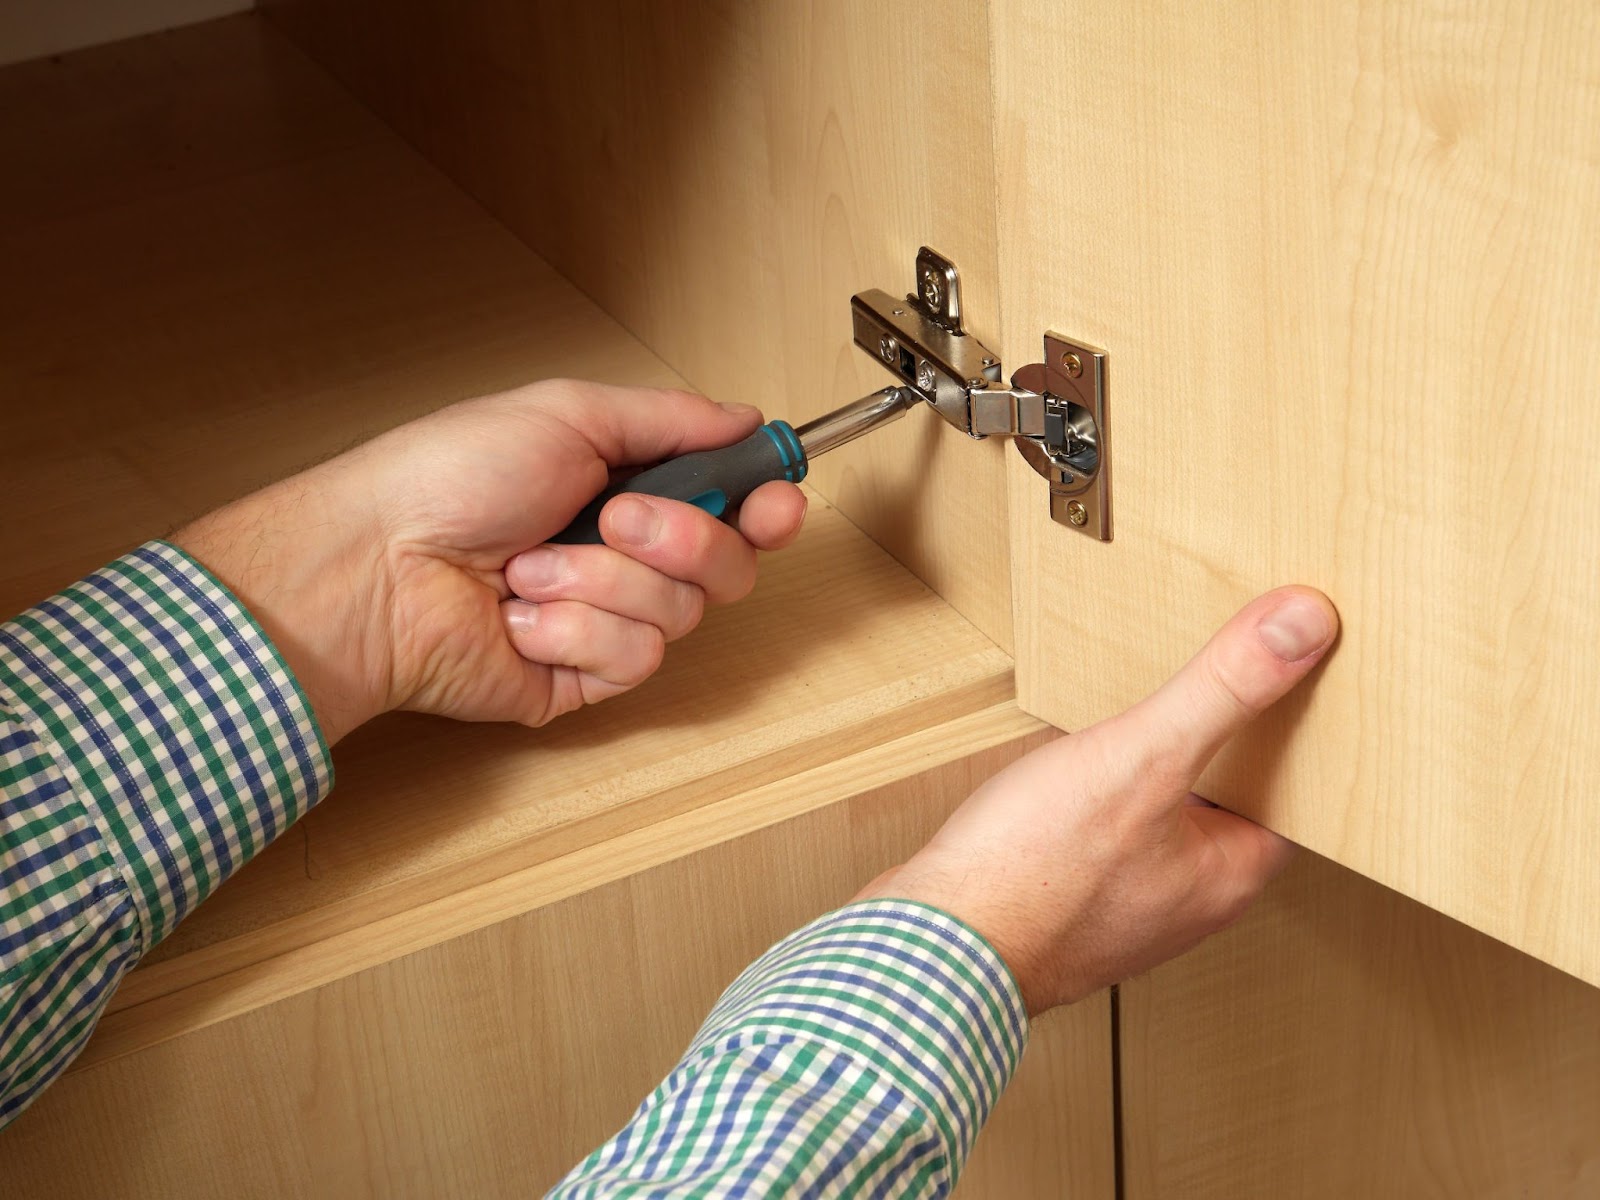
Painting can get really messy. The best way to paint cabinets is to remove the cabinet doors from the hinges with a screwdriver or cordless drill. By doing this, you will help to protect the hardware from damage by the paint. To ensure you know how all the doors fit together, carefully label each piece so that it can easily be reassembled. A pro tip from CabinetNow is to use a pencil to number each door on the backside of the door then marking the cabinet box where each numbered door goes.
Step 2: Clean The Cabinet Doors
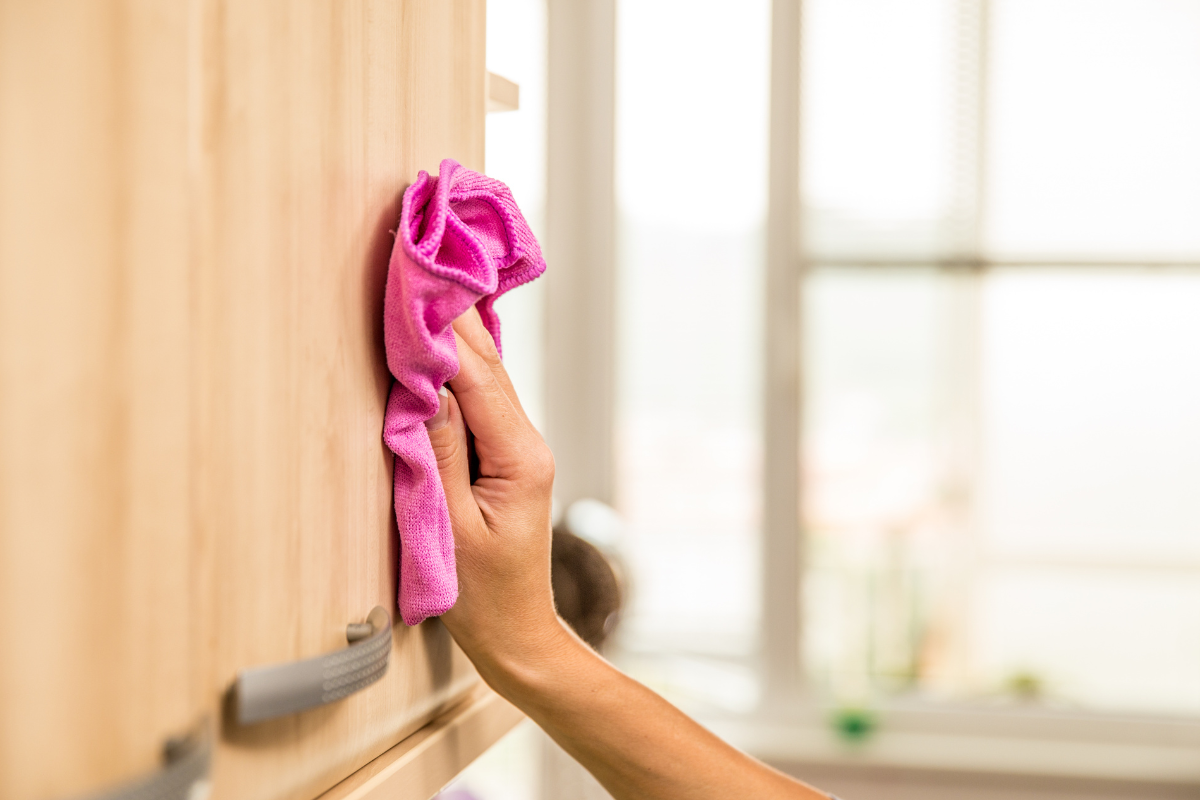
Once the doors are removed, you must clean the surfaces. Use a product such as trisodium phosphate (TSP) on both sides of the doors which will remove dirt and grease. Always wear protective gear for your eyes and hands as trisodium phosphate (TSP) is toxic.
Follow the instructions on the TSP packaging to create the TSP-and-water mixture. You can then apply it to the cabinets with a sponge. Removing dirt, dust, and grease will help the paint go on smoothly.
Step 3: Smooth The Surface Of Your Cabinet Doors
It is not uncommon for cabinets to acquire knicks and cracks. This step may apply to you if your cabinets are older. Once your cabinets are dry from cleaning them, you can use a putty knife to fill any nicks and cracks with wood filler and let it dry. You will then need to sand the surface with sandpaper to dull and smooth down the surface of the doors. You can then remove the dust after sanding with a damp cloth.
An alternative to sanding the cabinet doors is to apply liquid de-glosser. This only applies to cabinet doors that do not have nicks and dents to smooth. The de-glosser removes the gloss finish and makes it possible for the paint to adhere to the old finish.
Step 4: Prep & Protect Your Workspace
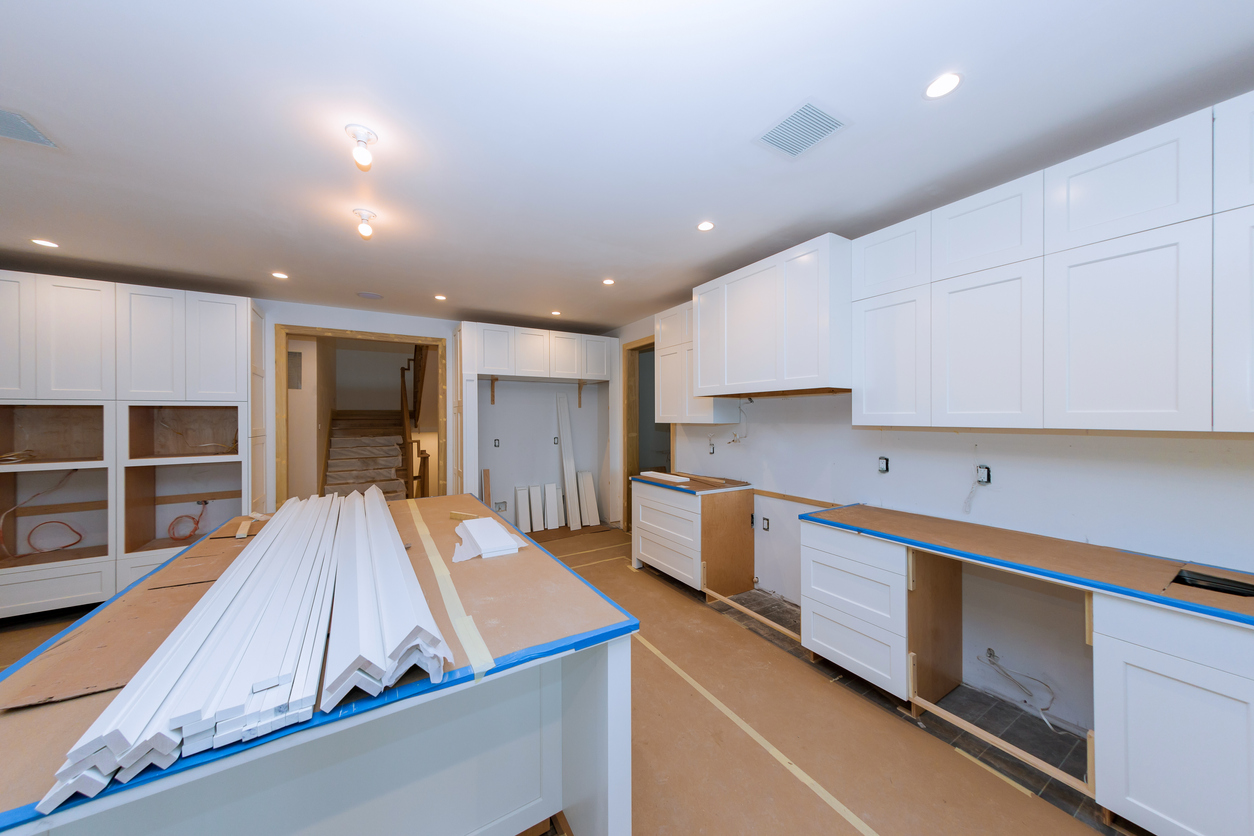
As we mentioned prior, painting can get messy. Before you start painting, you'll need to prepare the room so it does not get too chaotic. Here's what you'll need:
- Painter’s tape to protect the walls or tiles.
- A drop cloth to protect your countertops.
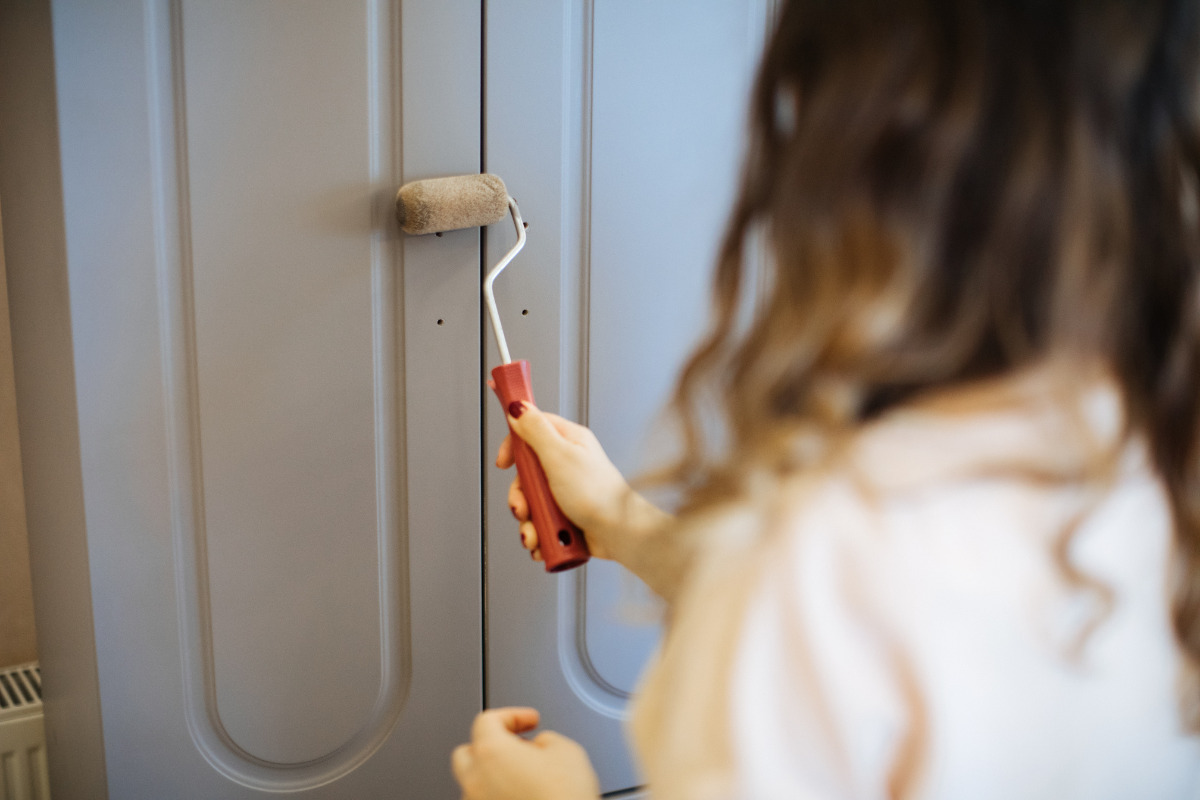
Step 5: Prime Your Cabinets
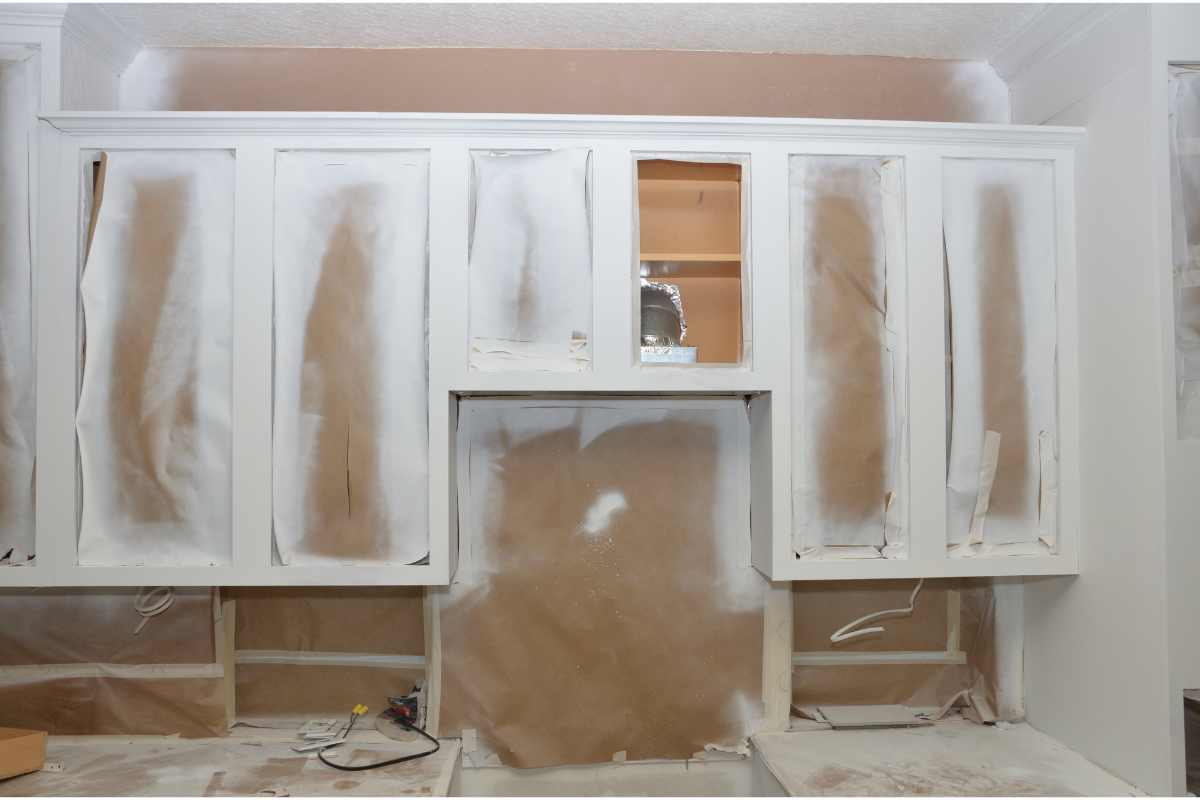
Once everything is protected you can use a roller or paintbrush to prime both sides of your doors. You can purchase paint primer at your local hardware store or order online.
Pro tip: If you have larger cabinet doors that are flat, you should use a roller brush. And if you have cabinet doors with more detail, you should use a tapered brush.
Time To Paint Your Cabinets!
Follow all 5 steps and you should be ready to paint your cabinets. Once the primer has dried, apply 1-2 coats of your desired color and wait for it to completely dry. CabinetNow recommends waiting a full 24-48 hours depending on how many coats you do. After that, it is best to apply a clear coat to seal the paint in and protect your paint job!
If you are ready to start ordering unfinished cabinet doors to paint, please contact us and we are happy to help from measuring to ordering!
#Painting Preparation #paint kitchen cabinets #paint cabinets #paint cabinet doors #prep cabinets for paint

