 made in the USA

How to Install Shelving in Cabinets
Spacious cabinet interiors are nice for holding taller items and creating lots of arm room for you to rummage around in, but they often leave too much wasted space in terms of vertical storage.
In such cases, the best thing you can do to increase your cabinet’s performance is introduce some additional shelving.
The method of shelving installation we’re covering here is excellent for its quick completion time, easily adjustable nature, and sturdy long-lasting performance. So without further introduction, let’s get started!
Materials
Procedure
1. Measure and Mark for One Side-Wall
Start with one side-wall of your cabinet’s interior. We will need to make two marks on each end of this wall to ensure that your shelf will be installed completely level.
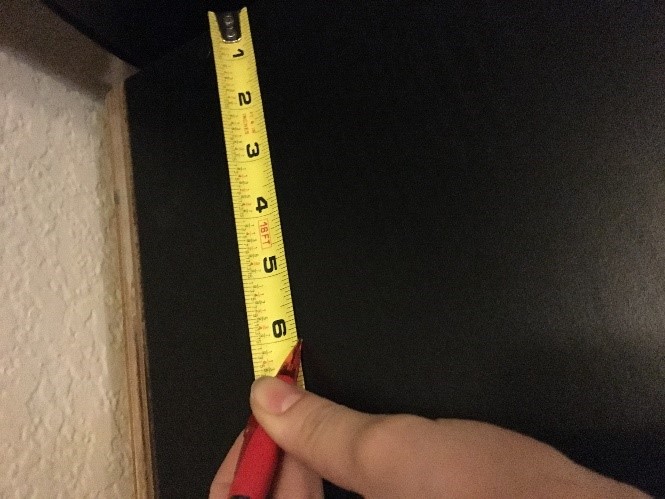
To do this, start from the top or bottom of your cabinet box and move horizontally inward by a width of 1-inch from the back of your cabinet box, then measure along the wall to the height you would like your shelf to rest on. Mark this position and its dimension.
Repeat this process once more, but this time start by measuring horizontally inward by a width of 1-inch from your cabinet’s opening to create a second mark on the opposite end of your cabinet’s side-wall at the same exact height.
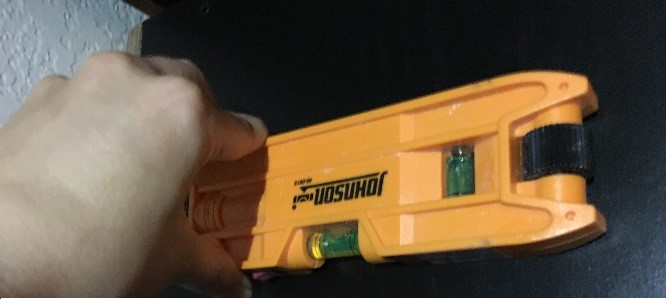
Lastly, hold the level against these two marks to check if this end of your shelf will be installed completely level.
2. Measure and Mark for the Opposite Wall
Using the same process described in the previous step, create two marks at the intended height of your shelf on the opposite side-wall, making sure that these marks are also perfectly level to each other.
3. Drill Holes for the Pegs
Once you have all four marks made, and are satisfied that they are level, it’s time to start drilling.
Drill a hole into each mark you’ve made. These will be the holes that hold your pegs. You will only need to drill as far as the peg can insert, so be careful not to drill through the entire cabinet wall.
For a helpful reference that will let you drill more accurately, you can wrap tape around the drill bit to mark off the point where you should stop drilling.
4. Insert the Pegs
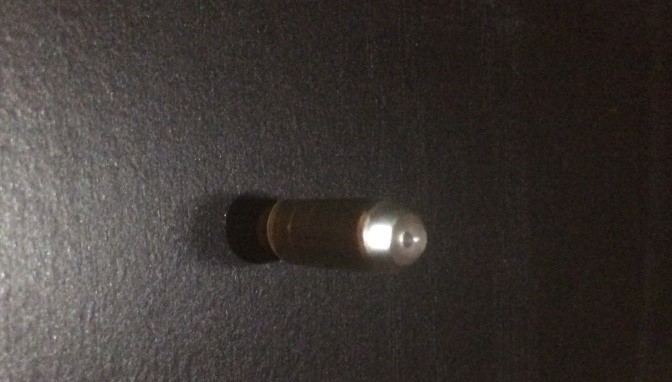
Simple enough, for this step all you need to do is place each peg into its respective hole. If the previous step was completed correctly, each peg should fit snugly into their holes and be ready to support weight.
5. Place the Shelf
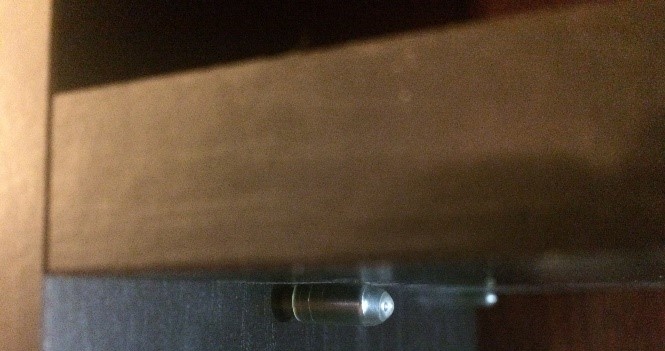
All there is left to do is slide the shelf into its position over the four pegs. If the front of your cabinet proves to be too tight to easily place the shelf once the pegs are installed, you may need to ask a helping hand to hold the shelf inside the cabinet, above the peg holes, while you slip the pegs in from underneath.
6. Repeat steps 1-5 for other Shelves
Once you get this procedure down, each new shelf can be installed in less than 20 minutes, so feel free to spruce up as many cabinets as you want to optimize your storage potential.
Stock Your Shelves and Enjoy
After you’ve placed your shelves, they will be ready to securely hold the weight of your stored goods, display pieces, appliances, or whatever else you desire. And perhaps best of all, this method’s use of shelving pegs allows you to effortlessly remove, replace, and reposition each shelf to your hearts content.
So, pat yourself on the back for completing another successful project, and enjoy your new shelving system!

