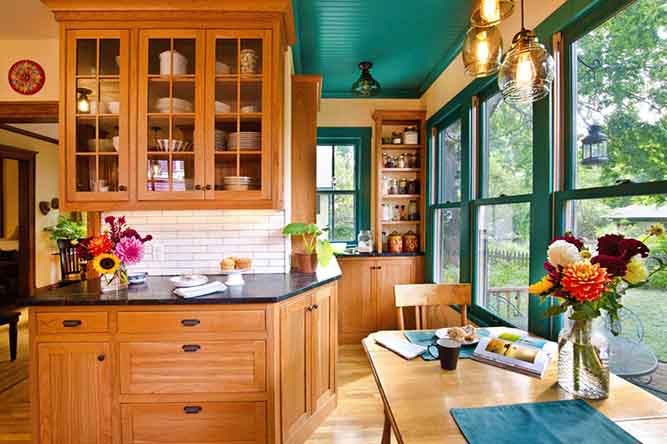
Installation Tips for Base Kitchen Cabinets
Before you get to work placing new base kitchen cabinets, remember the cardinal rule of construction efforts and installation projects. If you get the first piece right, you have a better chance of everything else falling into place as necessary. Misplace the initial install, and your cabinet project will turn into a stressful nightmare. Working with cabinetry takes time and patience, and if you can make sure you start off well, the process should go smoothly. Without stress and chaos, the finished project will look amazing.
Pause Before You Install Base Kitchen Cabinets
Though you may be on a time crunch or have multiple projects underway that need your attention, take a few minutes before you get started on the kitchen cabinets to get everything in order. This means collecting all of the tools and materials you will need for the project and keeping them at the job site. A problem-free job starts with having everything on hand and completely understanding the task you are about to tackle.
Because cabinetry fits together like giant Lego pieces, the entire set should be ordered at one time to make sure each piece will connect correctly. Without the parts ordered together and in full, delays in receiving parts or discrepancies between pieces could sabotage your installation project before you get started. For this reason, don’t get started on your installation until you know you have everything you need on site.
Prepare the Space for Base Kitchen Cabinets
A smooth installation starts with a good layout. Prepare the space by blueprinting the walls. Very few homes are perfectly level, meaning you will find uneven spots along both the wall or flooring where the cabinets need to be installed. Identifying the imperfections gives you an idea of the work to expect and helps avoid surprises. It will be a lot easier to add shims for the base than cut the toe-kick down.
You should start by marking the walls where the base cabinets will be installed. Use a vertical chalk line for each different cabinet unit.
Identify the High Spot
Using a tape measure and a laser level, mark the elevations along the wall that will hold the base cabinets. You are looking for the highest elevation. Once you locate this spot, measure and mark the height for the top of the base cabinets. Usually, this is 34 and a half inches off the highest spot located on the finished floor. Using a chalk line, snap a level line along the drywall around the room to mark where the top of the base cabinets will hit. Label the walls for where appliances will be as well as the cabinetry.
Always check the intended placement of any appliances and see if their height will be within range for the base cabinets. There could be a slight drop or hump in the floor to change how the appliance sits. If there is a difference of at least a half-inch or more, consider cutting down a cabinet where the high spot is or adding shims at the low spots.
Identify the Studs
Your base kitchen cabinets also need firm support, and this is done by finding the studs along the wall. Though the cabinets themselves will sit on the floor and gain primary support from the floor, fasteners are needed to help secure the pieces in place and avoid shifts or movement. Countertop weight and the weight of the interconnected cabinets reduce the potential for the cabinet to fall forward, but firm fastening into a stud further prevents accidental detachment.
Cabinet fasteners need to be in structural wood if they are going to be secure. Drywall isn’t enough. Using a stud finder simplifies the task of locating the wider beams within the walls. Place a mark where the studs are for future positioning. A pro tip is to extend the stud line past the horizontal line marked for the base cabinets. You will need to see the marks once the cabinets have been set in place, so keep them visible and higher than the top line. Draw a chalk line to show the studs.
Identify the Positions
Mark out the basic cabinet positions along the wall to ensure you have proper alignment and fit. If certain pieces have a specific placement, such as a sink cabinet centered underneath a window, start your placement with this piece. If there are no such special features, start from the corners and work out to the middle. You will be able to use filler strips in the middle section if you need to adjust the spacing. For out-of-plumb conditions or slight irregularities, you can also use fillers with wall end cabinets.
When the corners are not square or there are issues with the end walls not being exactly plumb, you will have to adjust the base cabinet. Where there is a corner slightly over 90 degrees, simply back the corner cabinet up along the longer wall and use the countertop to cover the difference. When the corner angle is just under 90 degrees or if you find the end wall has a lean at the top, still set up your cabinet back against the longer wall, but move to hold it in from the short wall so you can achieve alignment with the entire set. This can save you the step of shaving drywall to make the cabinet fit.
Keep in mind that the cabinets you install should always be level and plumb. When the kitchen has walls that aren’t plumb, you will have some gaps. With a strong initial layout, you have an idea of the filler strips and adjustments needed to keep the project plumb. Filler strips scribed to match the irregularity can also be used when there is a gap at a finished end panel. Use a planer or sander to ensure the scribed filler fits snugly.
Prepare the Base Kitchen Cabinets
You should remove any drawers, doors or shelves from the cabinets before moving ahead with the installation. Make sure you label the location of the doors with painter’s tape and use a pencil to mark where the top of the hinges need to be attached. You should also make sure that any upper cabinets for the kitchen have already been installed, as trying to bend over the base cabinets just makes the project more awkward and frustrating.
Position and Anchor the Cabinets
Take the first cabinet and set it a quarter of an inch from the positioning line. Start with a base corner unit, if applicable. You may need to shim the base until your top is even with the horizontal chalk line, and you also need to make sure it is level from front to back. A plumb bob can help determine the vertical angle to the floor, and any gaps between the cabinet and wall require filler strips. You also want to use shims behind the cabinets where the stud locations are and anchor the cabinet into the stud.
Using self-countersinking screws will add to the budget, but you will save yourself a lot of time and create a more professional finish. These screws create a flute and cutting edge, allowing you to work without creating a pilot hole. They also rest flush against the wood once they have been inserted.
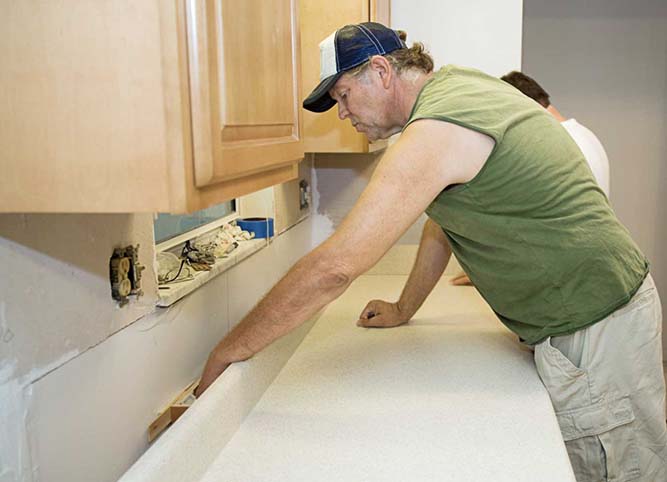
Once the first cabinet has been placed, you can move on to the next one. Repeat the process of shimming as necessary and securing units into studs. Use a wood clamp to create a flush finish between adjoining cabinets, but use a hand-screw clamp for the tightest hold and minimal flex. Make sure the face frames line up before clamping them together. Once the clamp is in place, connect them with screws. You can use a 2.5-inch screw to connect the cabinets, inserting the screw head in the less noticeable cabinet of the set so it is less visible.
Exceptions to the Anchor Rule
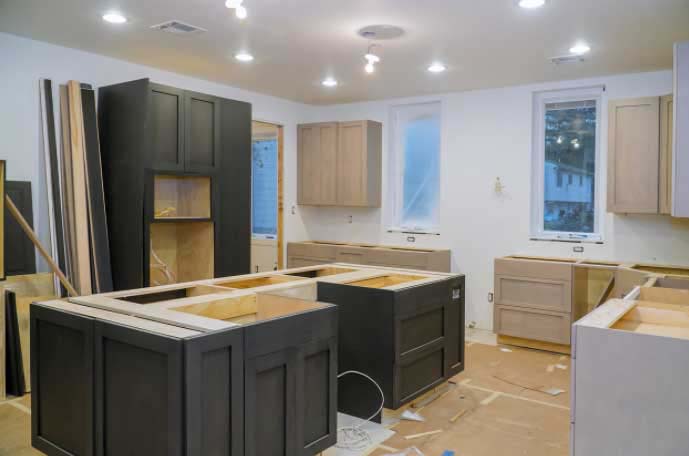
Sometimes, base kitchen cabinets are used to make an island or a peninsula. If this is the case, you won’t be able to secure the cabinets to the wall. Instead you must join together all of the base cabinets being used and put them into the desired position. Trace an outline along the floor around the cabinets, then pull the cabinets off to the side. Use 2x2 boards cut the length of the cabinet unit and screw these cleats to the floor half of an inch from the inside of the line. This takes into account the thickness of the cabinets. Move the island back into position and attach it to the wooden frame with screws.
In addition to this unique situation, you may find challenges when installing base cabinets if there is no flooring in place. When the flooring is intended to be tile or hardwood and it’s going to be laid after the cabinets are in position, you will need to raise the cabinets to ensure a dishwasher fits appropriately. Use blocks to simulate the height of the finished floor and add in that distance when making the guideline for the top of the base cabinet. Offset the blocks from the front of the cabinet so the flooring will tuck neatly underneath.
Address the Special Features of Base Kitchen Cabinets
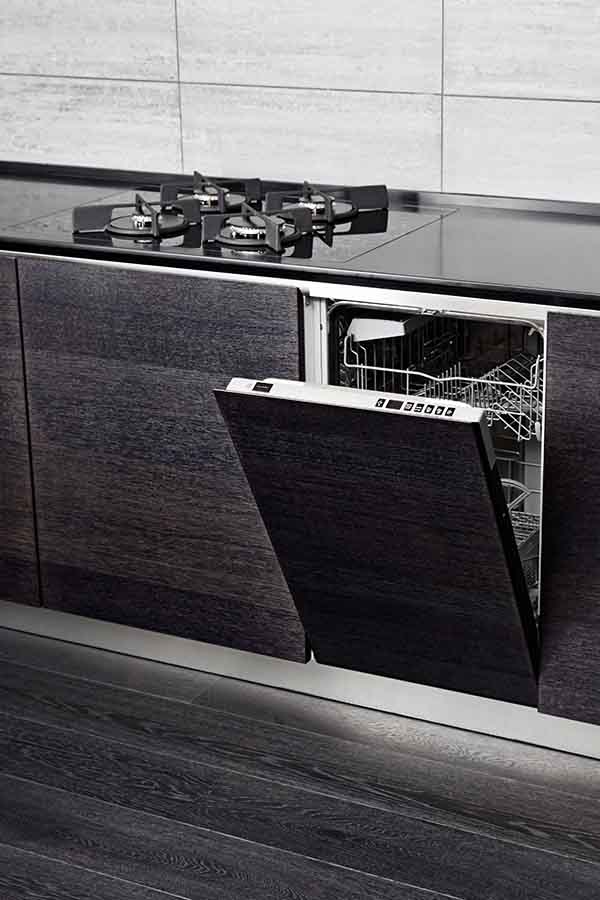
For sink cabinets and those located near a dishwasher, you need to cut holes into the back of the cabinet for drainpipes or water lines. Precision cutting might provide a great look, but you can run into some trouble and frustration when trying to stick to minimum diameters. It’s OK to make an oversized hole to allow the cabinet to efficiently slide into place. This can also give you a bit of room if adjustments need to be made. Once the cabinets are secured, you can go back through and re-attach the doors or insert any drawers or shelves removed. If you don’t have a lot of experience with plumbing, contacting a professional for help will likely be a much better option than attempting a DIY approach.
3 Rookie Mistakes When Installing Base Kitchen Cabinets
Installing cabinets takes work, but it isn’t rocket science. Following a carefully laid-out plan and best practice tips can make sure it goes smoothly. Additionally, put these common beginner mistakes on your radar to avoid issues with your installation project.
1. Purchasing Random Cabinets Not Fitted to Your Kitchen
When you are ordering cabinets for a project, avoid selecting preset stock sizes. Unless you have already measured the space and are sure that stock sizes will fit nicely, you may need unique measurements to create the desired layout. Precise measurements are important when making cabinet purchases.
2. Forgetting About Existing Elements
Whether starting with a blank space or working on a remodel, always take into account the existing plumbing and wiring. The kitchen arrangement needs to be laid out well in order to support where the existing features are. You don’t want to cover up plumbing or electrical connections. It’s best to work around these from the beginning rather than as an afterthought.
3. Sacrificing Plumb for Convenience
You can’t compromise on spacing and alignment with cabinets. There should be no unwanted gaps between or behind the cabinets, and all of the cabinets must be level. By starting from the highest ground point and attaching the cabinets to the strongest points on the wall (the studs) you can avoid this mistake.
Professionally Install Base Kitchen Cabinets
When you realize the importance of proper planning and exact measurements, as well as understanding all the steps involved, installing beautiful base kitchen cabinets properly is easy to do. For high-quality base cabinets and accessories to complete your project, turn to CabinetNow.
If you are struggling with getting started, or you have a list and are ready to talk style and material, feel free to give us a call at 1-855-669-5222 or an email to info@cabinetnow.com. Our well-trained sales staff can help you with everything from measuring to ordering.
 MADE IN THE USA


